Complete Guide: How to install butcher block countertops & Islands
Introduction
How many times have you heard things like, “Butcher block looks nice, but it’s a hassle,” or “Wood in the kitchen? That’s not serious”? Honestly, I used to think the same way—until I installed it in my own home. My wife and I were updating our kitchen island and wanted something warm, simple, and reliable. We ended up choosing butcher block—and we’ve never regretted it. The wood instantly made our kitchen feel cozier and more alive. But with that warmth came a few important questions: how do you install it properly, what kind of finish should you use, and how do you protect it from moisture?
At first glance, a butcher block may seem like a simple solution. But if it’s mounted incorrectly, it can crack. If you don’t allow for wood expansion, the surface may warp over time. And without proper sealing, the wood can easily become damaged.
That’s exactly why I’ve decided to gather everything you need to know before you start: the difference between an insert and a full countertop, the tools required, the best fastening methods, finishing options, and care guidelines.
If you’ve been thinking about butcher block but don’t know where to start, this step-by-step guide will walk you through it all. No complicated jargon or confusing instructions—just practical advice that worked for me and others who took the leap into wood. Let’s dive in!
What You Need to Know If This Is Your First Time Working with Butcher Block
When people talk about butcher block, they often mean very different things. This confusion usually starts at the planning stage.
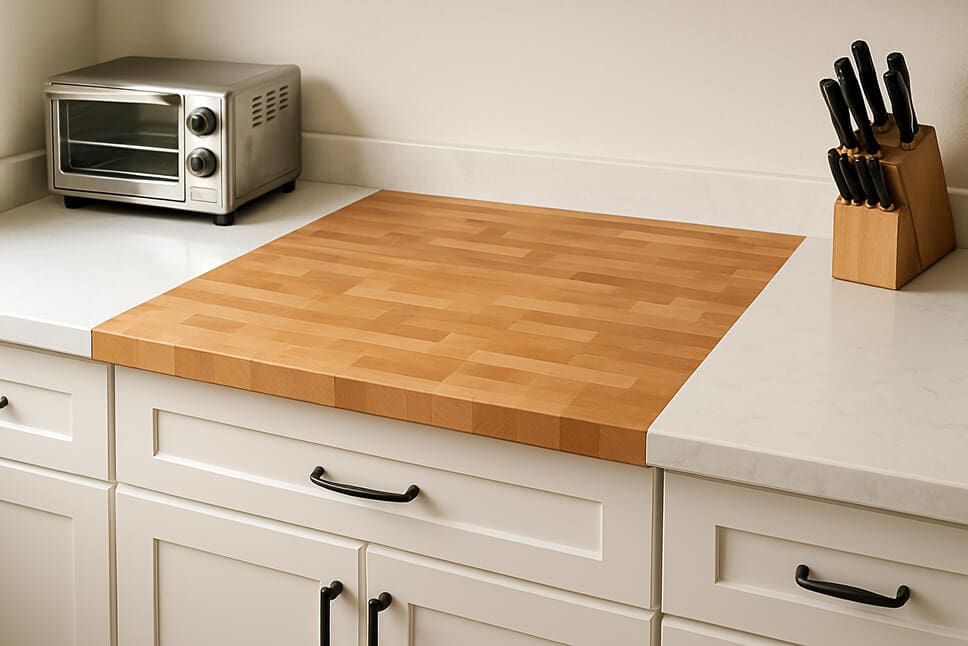
Butcher block as an insert — a wood section built into a stone, concrete, or quartz countertop. It’s typically used as a prep or cutting area and does not replace the entire surface.
Butcher block as a full countertop or island — a solid wood surface installed across the entire countertop or kitchen island. In this case, requirements for the base, fastening system, and wood protection are much stricter.
Understanding which format you’re choosing is critical before installation begins.
What Is Butcher Block and Why Should You Have It in Your Kitchen?
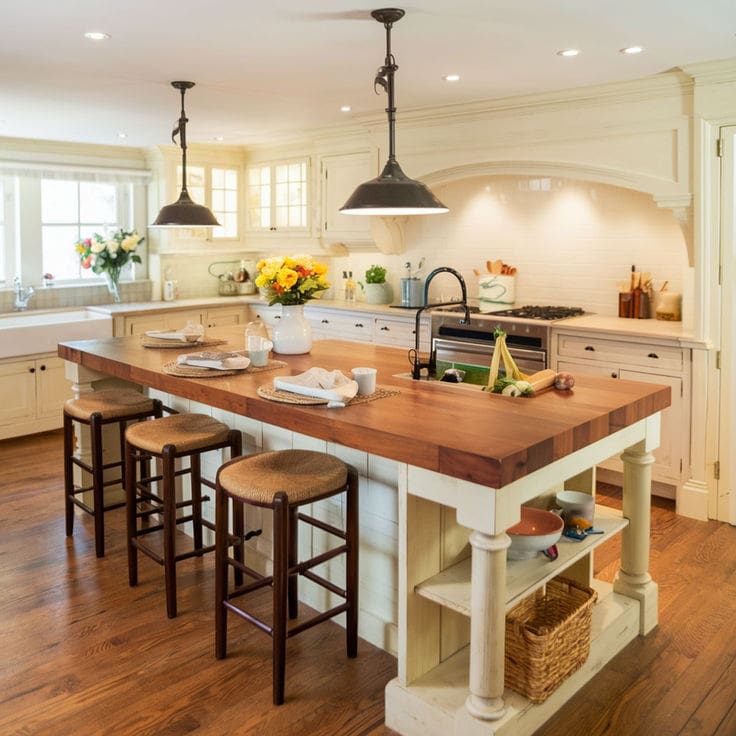
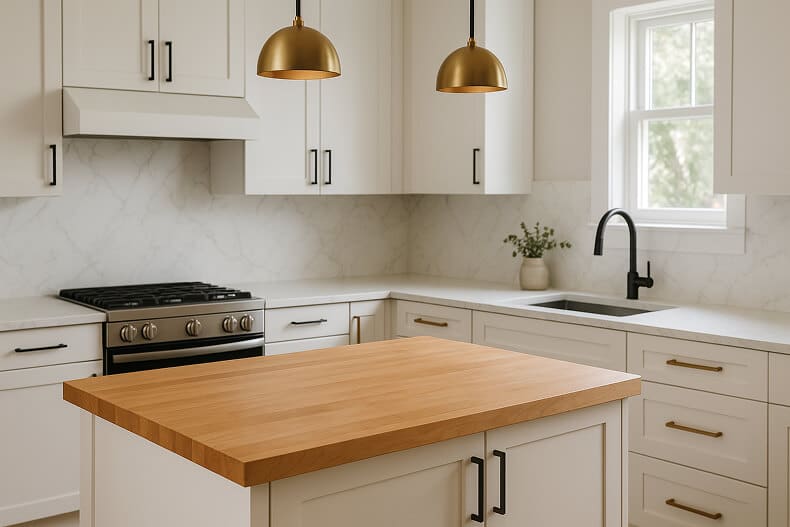
In short, butcher block is a wooden countertop made of glued-together strips of hardwood. The most common species used are maple, beech, oak, or acacia*. This material has a natural, warm look—especially when paired with kitchens that have a lot of stone, metal, or cool-toned finishes.
What I liked most about butcher block was its simplicity. It feels like nature itself and only gets better and warmer over time. You can choose where to use it: as an accent—like a butcher block insert in countertop—or as the main surface. Both options work well; they just serve different purposes.
If you're looking to bring warmth and life into your kitchen, butcher block can be a great solution. It works especially well on islands or in prep zones. And it feels very different to the touch compared to quartz or concrete: always slightly warm, not slippery, and quieter under plates and cups. You feel the difference immediately—and most people love it.
*Acacia is also used for butcher block, but mostly in budget-friendly options from IKEA and Home Depot. It’s not the most stable material when it comes to humidity changes, and most professional woodworkers don’t recommend it for built-in countertops. However, it’s fairly common in affordable pre-made butcher block panels.
Butcher Block Insert in a Countertop: What It Is and When to Use It
Sometimes there’s no need to replace the entire countertop—especially if it’s made of stone or concrete and still in great shape. But when you want to bring in something warmer and more natural, that’s when a butcher block insert in a countertop makes sense. It’s a wood section embedded into an existing surface. It can be round, rectangular, narrow—whatever suits your needs. The main thing is that it should be functional.
These inserts are typically placed near the stove or sink—where you do most of your chopping. It’s super convenient: you don’t need to pull out a cutting board, wood is easy on your knives, and it all looks neat and intentional. The insert pairs beautifully with natural stone (granite, marble, quartzite) and quartz—wood creates a cozy contrast.
But there are also a few things to keep in mind. Wood can’t just be dropped in and forgotten. You need to install it properly and protect the edges—especially if it’s near water or steam. Otherwise, over time, the block may darken, warp, or separate from the base. To help you avoid those issues, I’ll walk you through exactly how to install a butcher block insert in a countertop in the next section—step by step, covering all the technical details.
How to Install a Butcher Block Insert: Step-by-Step Instructions
If you’ve decided to add a butcher block insert in a countertop, it’s not just about cutting a hole and dropping the wood into place. Wood is a living material—it absorbs moisture, expands, and contracts. So, the installation requires some care. Below is a step-by-step guide on how to install butcher block countertops partially—as an insert—without replacing the entire surface:
Measure and mark precisely. Outline the area where the insert will go. Double-check to make sure there are no wires or pipes underneath.
Cut the opening in the countertop. Use a circular saw or jigsaw. Be sure to leave a gap of about 1/8 inch around the edges to allow the wood to expand.
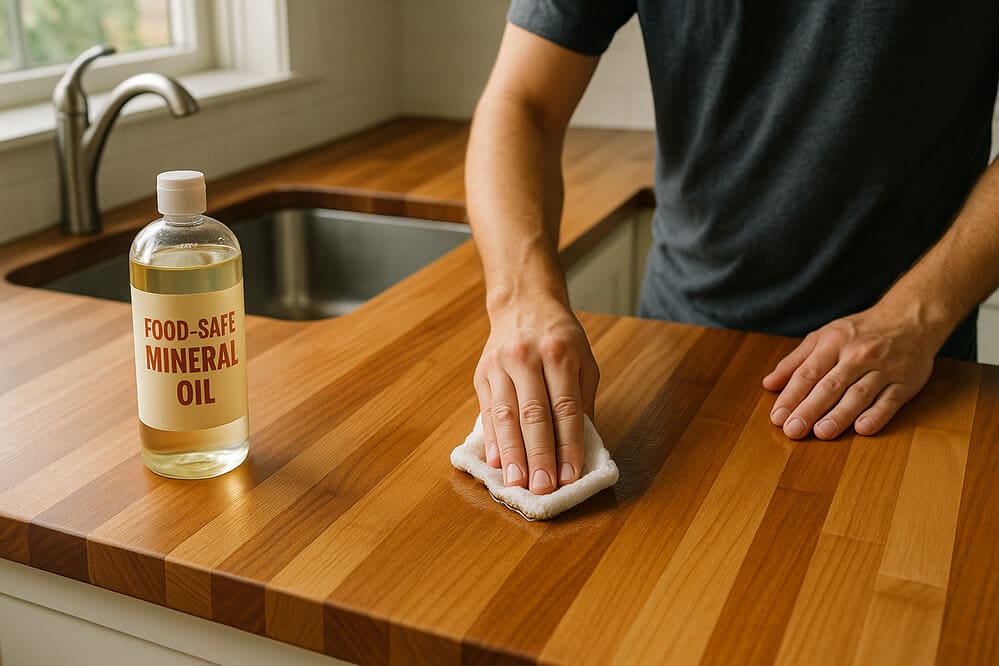
Prepare the butcher block. Sand the surface and immediately treat it with mineral oil or another suitable finish. This makes it easier to protect hard-to-reach areas.
Install the wood block. Gently fit it into the opening. Secure it from underneath using corner brackets or mounting clips. Do not screw it in tightly—leave room for slight movement.
Seal the joints. Apply silicone caulk along the edges or use a water-resistant sealing tape. This protects against moisture and food crumbs—especially if the insert will be used as a prep area.
Tip: Use food-grade oil—it’s safe for food prep and gives the wood a soft, beautiful tone. And don’t forget to reapply the finish at least once a month—we’ll cover that later in the article.
Installing a Full Butcher Block Countertop
If you’re already confident in your choice and ready to start the install—let’s go over how to do it right.
A full wood countertop requires more attention than an insert. Everything matters here: level cabinets, proper placement, secure mounting, and of course, protection. But don’t worry—nothing’s too complicated if you take your time and follow a few basic rules. Below, I’ll explain how to install butcher block countertops yourself.
Step-by-Step Countertop Installation Guide
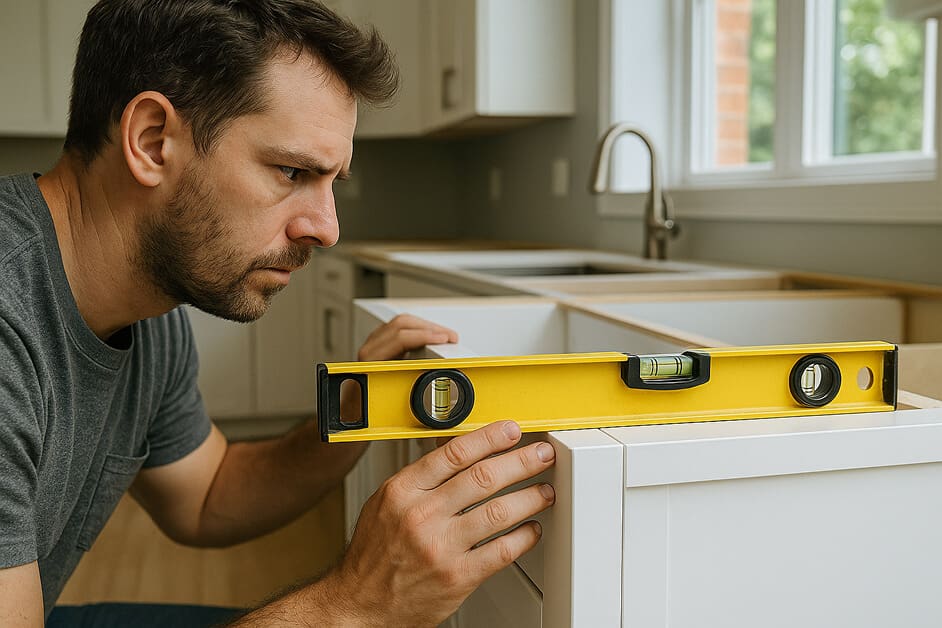
Check the base
Make sure all your cabinets are level and securely fastened. Even a small tilt can cause the countertop to sit unevenly or shift over time. Use a level to check the surface along its entire length. It’s better to spend a few extra minutes adjusting now than to fix problems later.
Test fit the butcher block
Lay the panel on top and see how it fits on the base. Leave a small gap—around 1/8 inch—on all sides, especially where it meets the wall. This is important because wood can expand or contract depending on humidity and temperature. Without that space, it may warp. So always leave a bit of breathing room and avoid pressing the butcher block tightly against tile or cabinetry.
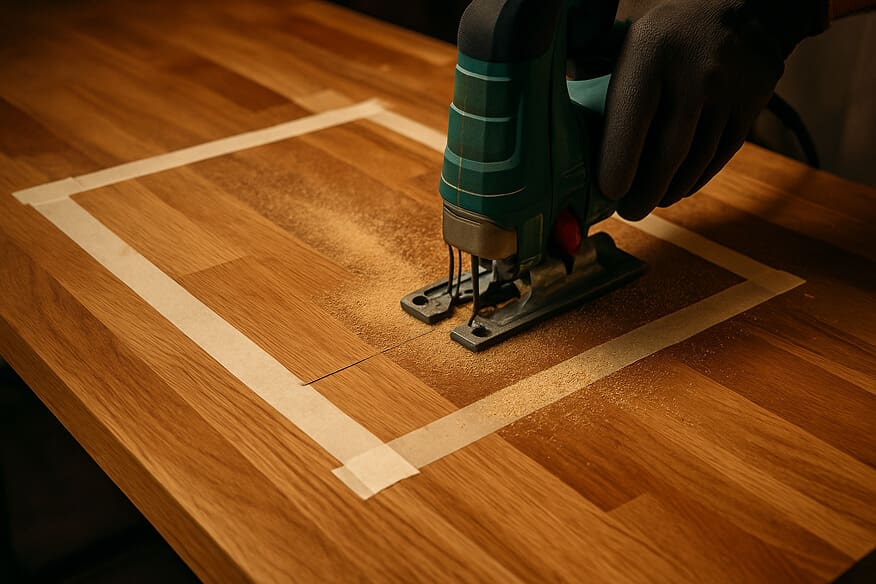
Make the necessary cutouts
For sinks, cooktops, or outlets—cut carefully to avoid damaging the edges. Tip: Treat all cut edges immediately with oil or sealant. The end grain is the most vulnerable part of butcher block—it absorbs moisture quickly. If left untreated, the wood can darken, swell, or even crack. So it’s best to seal the edges before installation—it’s much harder to do afterward.
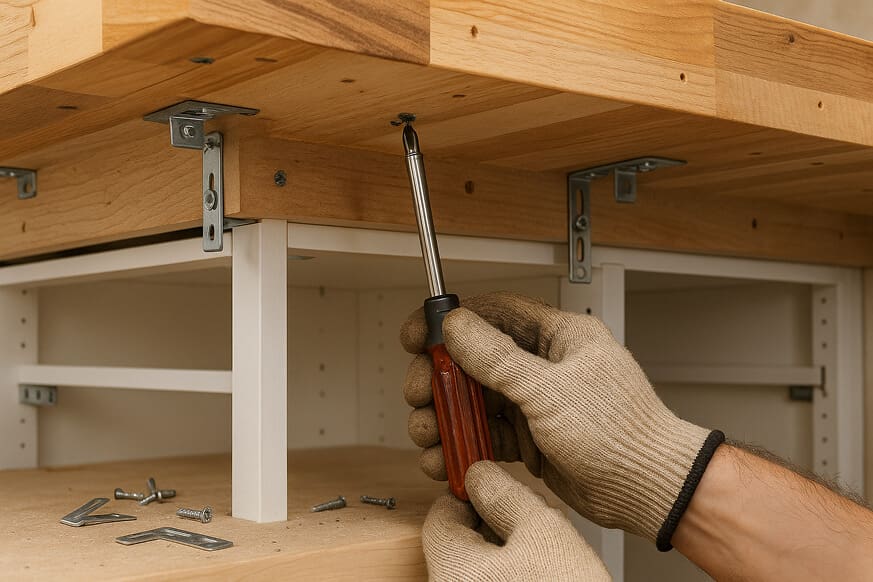
Secure the countertop from underneath
Use mounting brackets or Z-clips.
Important: Don’t screw the butcher block down too tightly—especially not from the top—as that can lead to cracks. When securing it from underneath, leave a bit of flexibility in the brackets so the wood can shift slightly with changes in humidity and temperature. That’s completely normal—natural wood expands and contracts over time. If you fasten it too firmly, it can crack or warp.
Finish the surface
Right after installation, apply the first coat of oil—especially around the edges, near the sink, and at seams. Don’t forget the underside—moisture can come from below, too.
When I was doing my research, I came across a homeowner on Reddit who shared this cautionary tale:
“I screwed the butcher block close to the wall, no gap. After a month, the wood bent and the whole table top arched. I had to take it all off and start again.”
If you take your time and do it carefully, your butcher block will last for many years.
Does Butcher Block Need Protection? Oil, Varnish, or Sealant
Installing butcher block countertops is only half the job. The real work begins afterward: protecting the wood. Without proper sealing, your butcher block will absorb moisture, darken, crack, or warp—especially if it’s installed near a sink or stove.
There are two goals for finishing: to prevent moisture from soaking in and to stop the wood from drying out. Most people use one of three options—oil, varnish, or sealant—each with its own features.
Oil
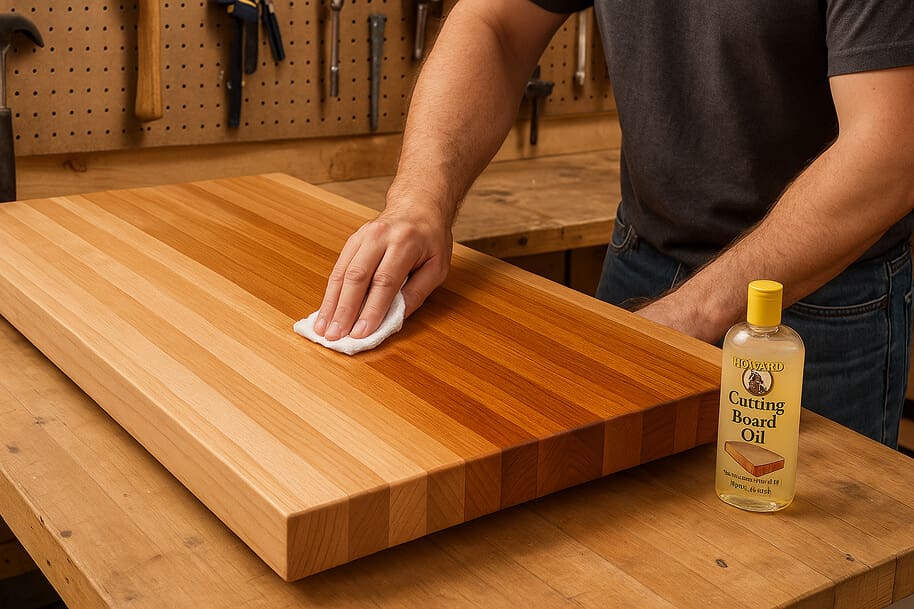
This is the most popular option, especially if you plan to cut food directly on the countertop.
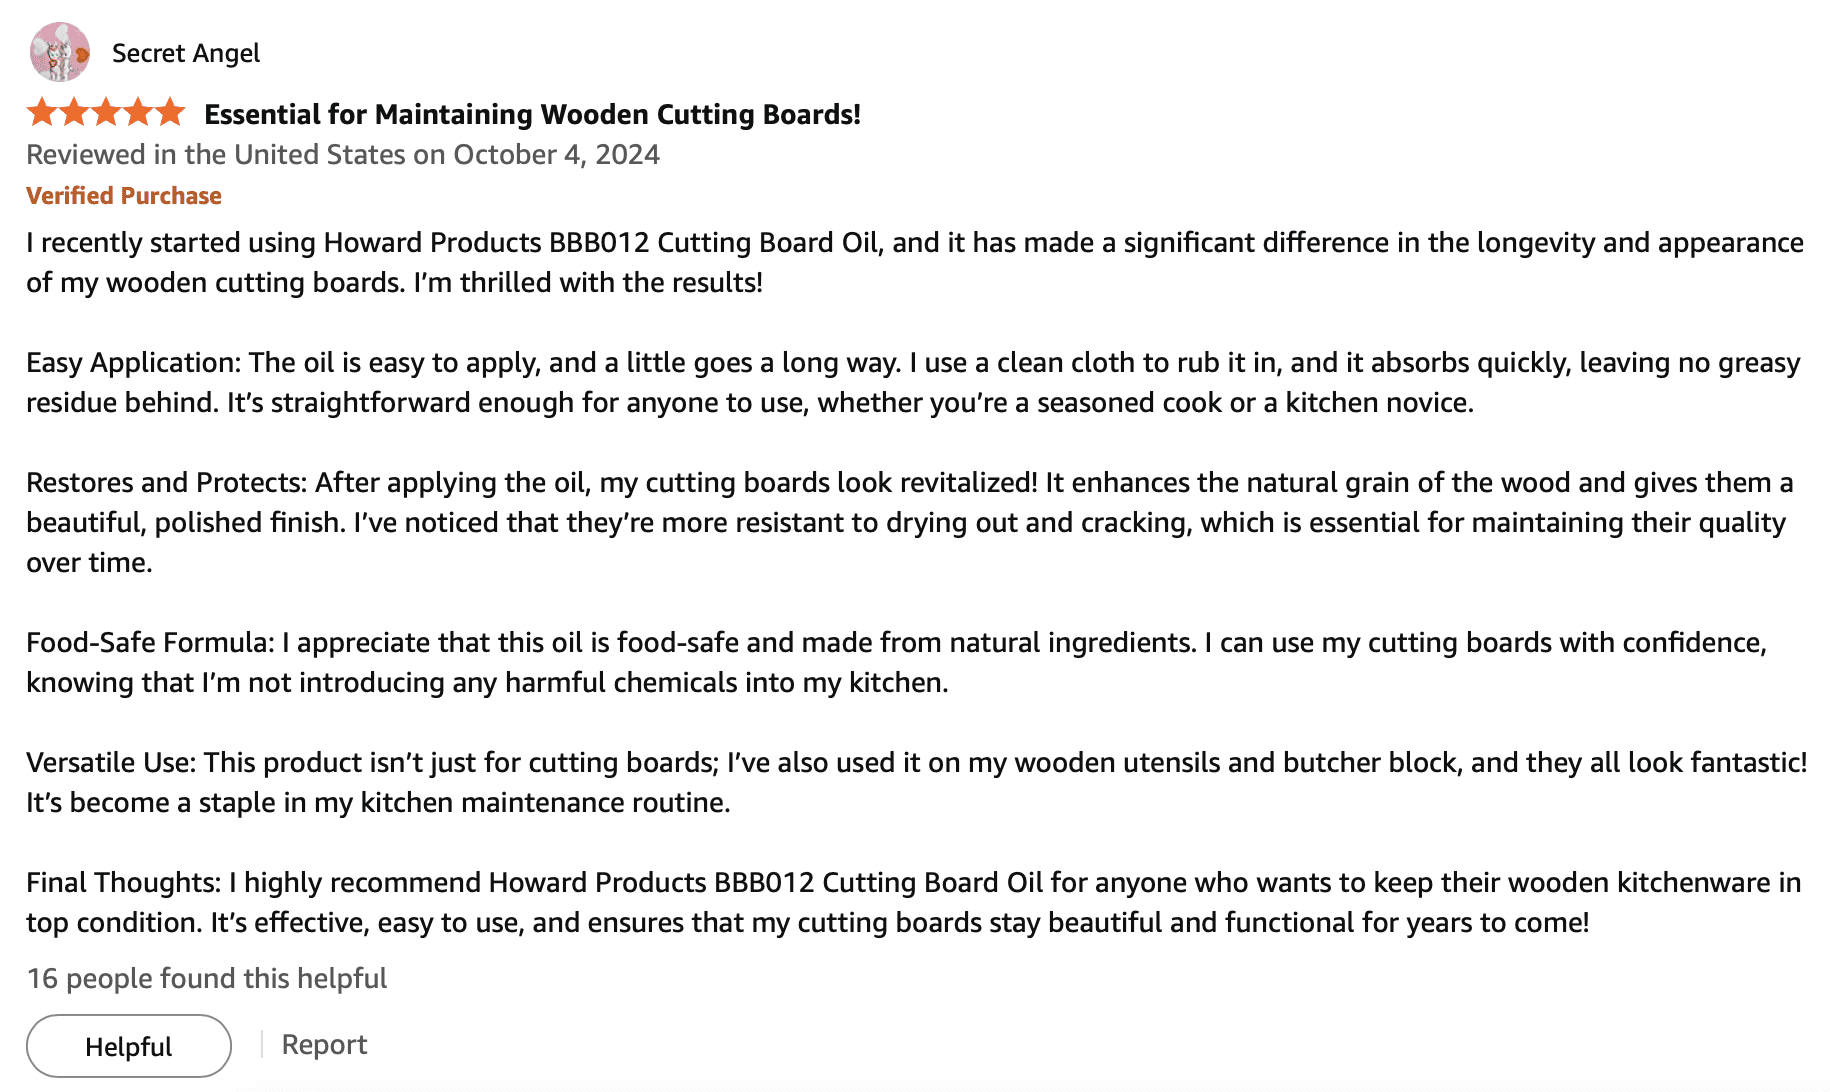
Howard Cutting Board Oil — Food-grade mineral oil with no scent, easy to apply and fast-absorbing — ideal for daily use.
Source: amazon.com
Walrus Oil Butcher Block Oil — a thicker, richer blend with natural oils and vitamin E that gives the wood a warm tone.
Source: amazon.com
Oil needs to be reapplied more frequently than other finishes—every 3–4 weeks for the first six months, then as needed. If the surface looks dull or absorbs water instantly, it’s time for a new coat.
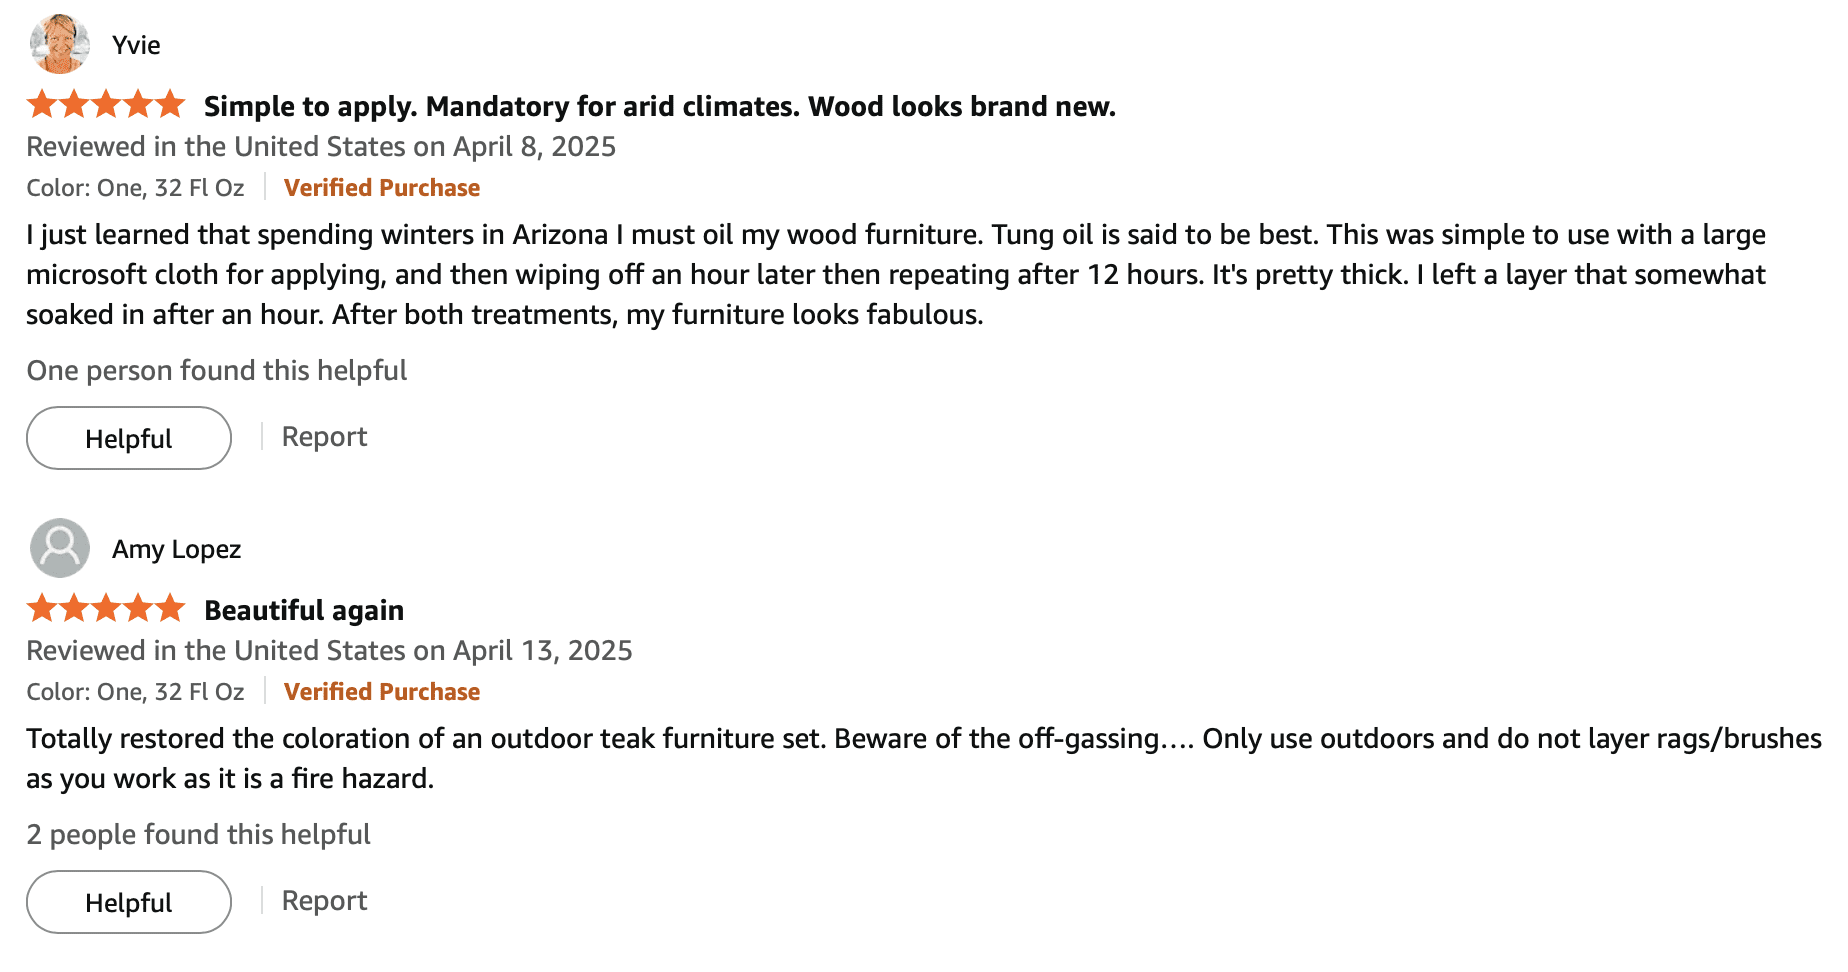
Tung Oil
A natural, deeply penetrating oil with stronger moisture resistance.
Hope’s 100% Pure Tung Oil — pure tung oil, no additives. It gives a deeper, richer color, semi-gloss finish, and excellent water resistance.
Downside: This oil takes longer to dry (sometimes up to 24 hours between coats) and requires careful application. If you apply too much or too thickly, the surface may feel sticky or develop blotchy spots. So it’s important to apply thin, even layers and ventilate the room well.
Source: amazon.com
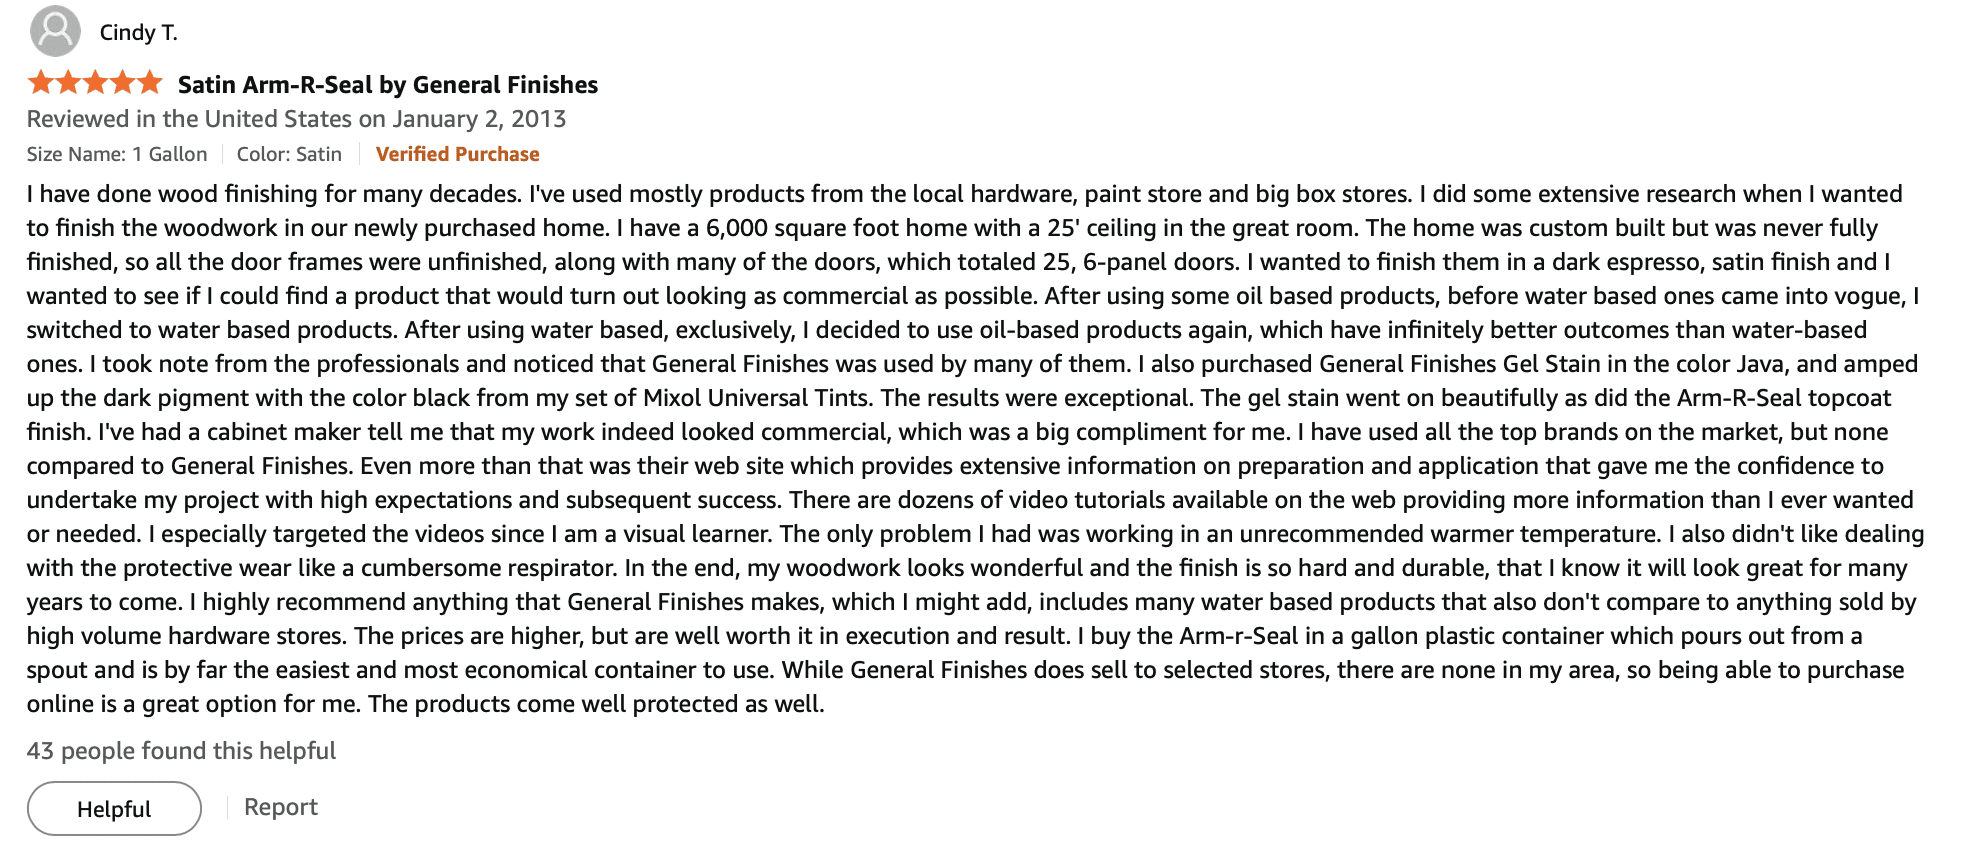
Varnish
If you don’t plan to cut food directly on the surface and just want a long-lasting, water-resistant finish, varnish is a good choice.
Minwax Fast-Drying Polyurethane — a classic wood finish. Dries quickly and forms a tough, durable coating.
Source: amazon.com
General Finishes Arm-R-Seal — semi-gloss, smooth sheen, easy to apply with a sponge.
Source: amazon.com
Apply 2–3 coats. It usually needs to be refreshed every 2–3 years, or when cracks and scratches appear.
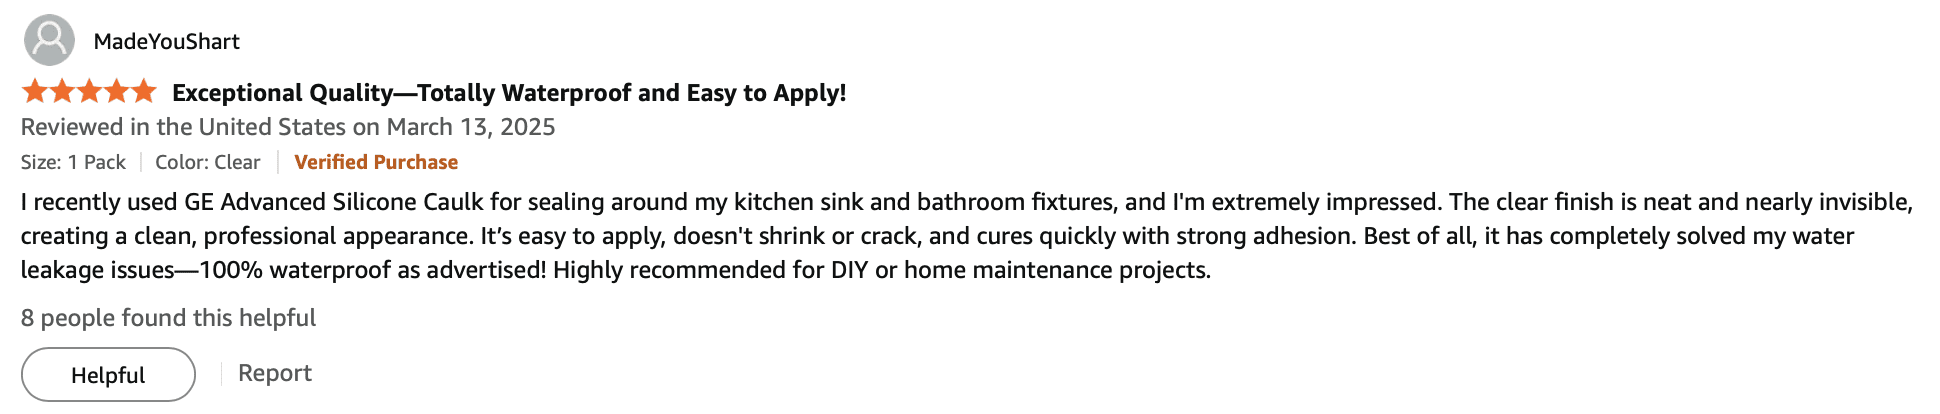
Sealant
Sealant isn’t meant to cover the entire surface, but to protect seams, edges, and cutouts—especially near the sink, cooktop, or any place where wood meets another material.
GE Advanced Silicone Kitchen & Bath Sealant — one of the most popular options. Mold-resistant, non-yellowing, fast-drying.
Source: amazon.com
DAP Dynaflex 230 — a flexible sealant that works well for joints between wood and stone or tile.
Source: amazon.com
If you want your butcher block to keep looking good for years, don’t cut corners on protection. It’s better to spend an evening sealing everything thoroughly than to start over in a few months.
Combining Butcher Block with Other Materials
I’m not a designer, honestly, but lately I’ve been reading more and more articles about kitchen design. I especially enjoyed the ones by Debra Morgan—she writes for our site and does a great job explaining how to make different materials and styles work together. Thanks to her tips, I’ve started to get a better sense of what looks best with butcher block.
While prepping this article, I browsed through tons of examples—Pinterest, blogs, real-life kitchens. Then I showed everything I found to Debra—she gave the thumbs-up and said the combinations really work. So what you’ll see below isn’t just my opinion; it’s based on our shared experience.
Here are three combinations that, in my opinion, truly stand out and are seen more often than others:
Butcher Block + Quartz
One of the most popular pairings. People often use quartz—like white Calacatta—for the main prep zone, and then highlight an island or wall section with warm wood. Here, the wood acts as an accent: soft, cozy, and lively. Visually, the kitchen looks more upscale and layered.
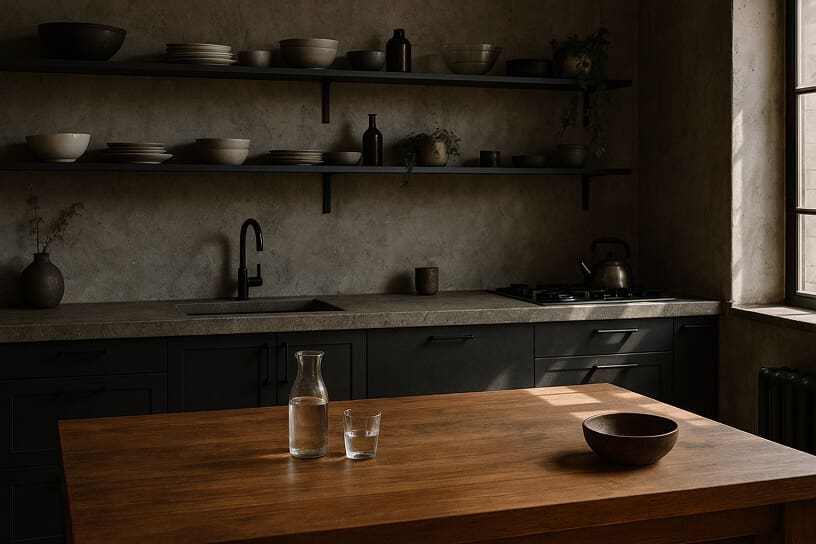
The contrast between warm wood and the cool, slightly rugged look of concrete works beautifully in modern and industrial spaces. It often pairs well with open shelving, black hardware, and a minimalist aesthetic. One effective layout is to use concrete around the stove and butcher block on the island.
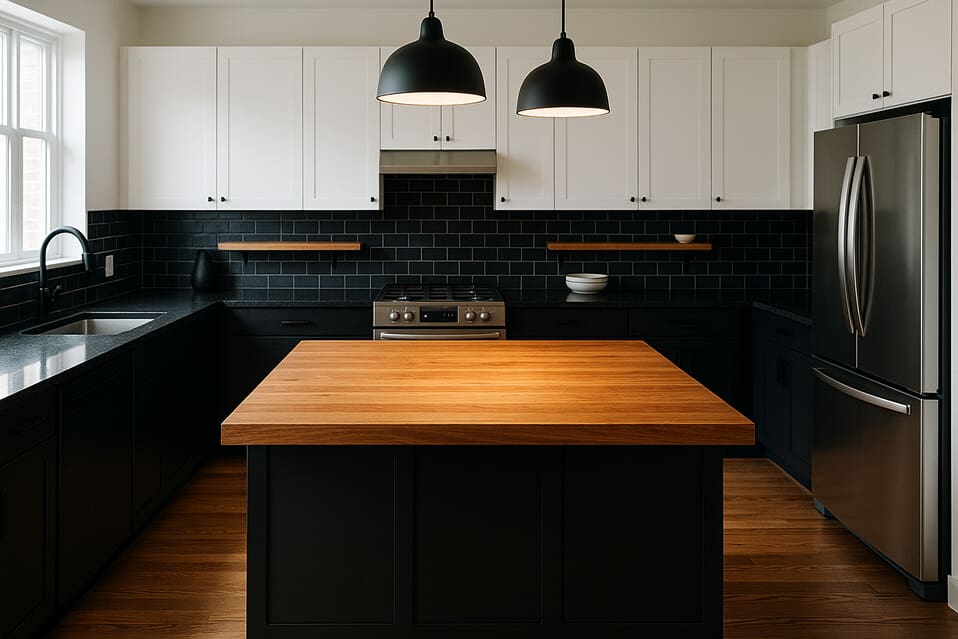
Butcher Block + Black Granite
This pairing is for those who aren’t afraid of bold choices. Black granite brings depth and formality, while butcher block adds warmth and visual softness. Together, they’re especially striking if you also play with cabinet contrast—like light cabinets on one wall and dark ones on another, or a warm-toned island set against black cabinetry.
These combinations let you define different functional zones—prep, serving, dining—while also making it easier to integrate butcher block into kitchens that already feature other materials. The key is to think ahead about how everything will work visually and functionally as a whole.
Common Mistakes When Installing Butcher Block — And How to Avoid Them
Most issues with butcher block don’t come from the material itself—they come from how it’s installed. I’ve gathered the most common mistakes here, so you know what to watch out for:
Mistake 1: Rigid Mounting Without Allowing for Wood Expansion
This is probably the number one enemy of butcher block. Wood “breathes”: it expands with humidity and contracts in dry environments. If you screw it down tightly, it can crack or ripple over time—especially on islands or near walls.
What to do: Use elongated holes in brackets and leave about 1/8 inch of clearance around the edges. Wood needs a little freedom to move.
Mistake 2: No Protection for Edges and End Grain
Many people oil only the top surface and forget about the edges—especially around sink or cooktop cutouts. But those are the areas most exposed to moisture, which can quickly start to damage the wood.
What to do: Treat all exposed cuts—top, bottom, and sides. Pay extra attention to spots where the wood meets other materials.
Mistake 3: Skipping Regular Maintenance
Even a perfectly installed butcher block will lose its protection over time. The oil wears off, and the surface dries out and may crack. This is especially noticeable in dry, heated homes.
What to do: During the first few months, reapply oil every 3–4 weeks. Then as needed. If a drop of water soaks in instantly—it’s time for a fresh coat.
Mistake 4: Gaps Too Small in Stone Countertop Inserts
When people install a butcher block insert in a countertop, they often forget to leave any clearance. The result? The wood swells, gaps appear, or it pops out of the opening.
What to do: Leave at least a 1/8-inch gap around the insert, and seal the seams with caulk. A little breathing room is better than stress and cracking.
Mistake 5: Using the Wrong Finish
Polyurethane near a cutting surface? Or oil where there’s standing water? That leads to scratches and peeling—or swelling and water damage.
What to do: Choose the right finish for the right area. Oil (like Howard Cutting Board Oil or Walrus Oil) for prep zones. Varnish or tung oil for areas with high moisture. And always seal the seams and edges.
Here’s a little trick a contractor once shared with me—and I’ve been doing it ever since:
“Before I apply oil for the first time, I tape off the edges of the butcher block with painter’s tape and write the date on it. Super handy—you always know when the last coat went on, and you never forget when it’s time to reapply. It’s a small thing—but it works.”
Expert Conversation: The Stone Magazine — Dan Williams
The Stone Magazine (TSM): Dan, what usually surprises people who are planning to install butcher block for the first time?
Dan Williams (DW): They underestimate how wood behaves. Butcher block isn’t a static material. It expands and contracts with changes in humidity and temperature, and that has to be considered during installation.
TSM: Structurally, what is butcher block?
DW: It’s a countertop made from glued wood strips. Maple, beech, oak, and acacia are the most common choices. The surface looks solid, but inside it’s still natural wood with all its properties.
TSM: What’s the difference between installing an insert and installing a full countertop?
DW: A butcher block insert requires very precise fitting and mandatory expansion gaps around the perimeter. A full countertop also needs a flat base and flexible fastening from underneath so the wood can move naturally.
TSM: What limitations are most often overlooked?
DW: Rigid fastening and unprotected edges. Those two mistakes cause most cases of warping, especially near walls and sinks.
TSM: When does it make sense to consider alternatives to butcher block?
DW: When the homeowner isn’t ready for regular maintenance and reapplying protective finishes. Butcher block isn’t a “set it and forget it” material.
TSM: Is there a difference between prefab and custom solutions?
DW: Yes. Prefab panels come in standard sizes and simplify installation. Custom butcher block requires exact measurements and more careful work, especially for islands and non-standard kitchens.
FAQ — Frequently Asked Questions
How do I install a butcher block insert in a stone countertop?
To install a butcher block insert in a countertop, cut an opening to match the size of the block and be sure to leave about a 1/8-inch gap around the edges. Then, drop the block into the cutout and secure it underneath using brackets or clips. Be sure to seal the seams with caulk, especially if it’s near a sink or stove.
How do I install a butcher block by myself?
If you’re looking for how to install butcher block countertops, start by checking the base—make sure it’s level and secure. Set the countertop with a small gap near the wall, and fasten it from below using flexible mounting hardware (like Z-clips). After installation, seal the surface with oil or varnish. It’s totally doable—just don’t rush it.
Can I use a butcher block near a sink or stove?
Yes, but only with the right protection. Apply a finish (like tung oil, varnish, or sealant) and keep it maintained. For sink or cooktop cutouts, be extra careful to treat the edges and seal all seams with caulk.
How do I secure butcher block to a kitchen island?
If you're installing a butcher block island (how to install butcher block island), attach it from underneath using sliding brackets—like Z-clips or elongated screw holes. Never screw it down tight: the wood must be able to expand. And don’t forget to treat the underside and all edges.
Which finish is better: oil or varnish?
It depends on the area. Oil (like Howard Cutting Board Oil or Walrus Oil) is perfect for food prep zones—it’s safe and easy to reapply. Varnish (like Minwax Polyurethane or General Finishes Arm-R-Seal) is better for wet zones and creates a tough surface, but it’s not ideal for cutting. There’s also a middle ground—tung oil, which offers durability while keeping the wood’s natural texture.
Most mistakes with butcher block aren’t about the material itself, but about expectations. Wood may look simple, but in real use it demands attention to details: expansion gaps, fastening methods, edge protection, and regular maintenance.
This is especially noticeable when installing a butcher block insert, where wood meets stone or concrete. Small oversights can turn into visible defects over time.
Warranties and real customer reviews remain important when choosing a contractor for butcher block countertops and islands. They show how a company performs in practice and how consistently it delivers results.
One useful reference point is the CountertopsContractors ranking — an independent list of U.S. contractors based on installation quality, experience, and market reputation. This format helps homeowners compare professionals and choose the right specialist for their project.
Conclusion
So, is butcher block really that much of a hassle?
If you do it right, it’s no trouble at all. The key is to take your time and follow a few simple rules: leave a gap, use oil, fasten the countertop from underneath—not the top. This isn’t a “set it and forget it” kind of surface. But if you approach it with care, you’ll get a reliable, beautiful work surface that lasts for years.
I’ve shared everything I’ve learned and tested myself—how to install, how to treat, where to use it, and what to pair it with. I hope butcher block makes a lot more sense to you now. And if you decide to give it a try—take your time, do it right, and may your kitchen become the kind of place where you actually want to spend time!
Important: This article is for informational purposes only and does not replace professional consultation. We’ve done our best to describe the process accurately, but every project is different. You follow this guide at your own risk, and the author and editorial team are not responsible for any issues that may arise during installation.
If you’re unsure about any step—it’s always better to call in a professional.
All images are sourced from Unsplash and Pinterest photo stock or publicly available contractor portfolios. If you believe any image is privately owned and used without proper credit, please contact us at contact@countertopcontractors.com.
Some authors may write under a pseudonym and choose not to disclose their identities for personal reasons. We respect their privacy and simply provide a platform for professional, educational use. We are not responsible for name coincidences with real individuals. All contributors are vetted for expertise, but we advocate for freedom of expression.
What’s the best choice for your kitchen: engineered stone or natural?
We break down the pros and cons of each material, answer the key questions, and offer practical tips on care and installation.
Max Kuchman
1126
The Stone MagazineStone Countertop Prices and Installation Costs in the U.S.Analytics and Industry Trends
This is our pricing research on Carrara Moro and Calacatta Idillio countertops. Find out which companies took on our project and how much they quoted for it.
Max Kuchman
458
The Stone MagazineStone Countertop Prices and Installation Costs in the U.S.Analytics and Industry Trends
This is our pricing research on Carrara Moro and Calacatta Idillio countertops. Find out which companies took on our project and how much they quoted for it.