Cement and concrete kitchen countertops DIY: Modern Ideas, Step-by-Step Instructions, Pros & Cons
Introduction
If you’re dreaming of a kitchen with personality, a unique design, and industrial charm — a DIY concrete countertop might be just the solution. Today, concrete kitchen countertops are increasingly popular among those who want to combine aesthetics, durability, and individuality
Yes, it’s definitely not the easiest project. DIY cement countertops require patience, precision, and a solid understanding of the process — from building the mold to final polishing. To make things easier for you, we’ve reviewed dozens of real-life case studies, professional guides, forum discussions, and insights from contractors across the country.
This article isn’t just here to inspire you — it’s a full, honest guide. If you’re reading this, you’re already on the right track. Inside, you’ll find a detailed step-by-step tutorial, modern design ideas, pros and cons of the material, care tips, and most importantly — real experiences from people who’ve created their own concrete countertop and are ready to share what they’ve learned.
Pros and Cons of Concrete Countertops — Is It Really Worth Starting?
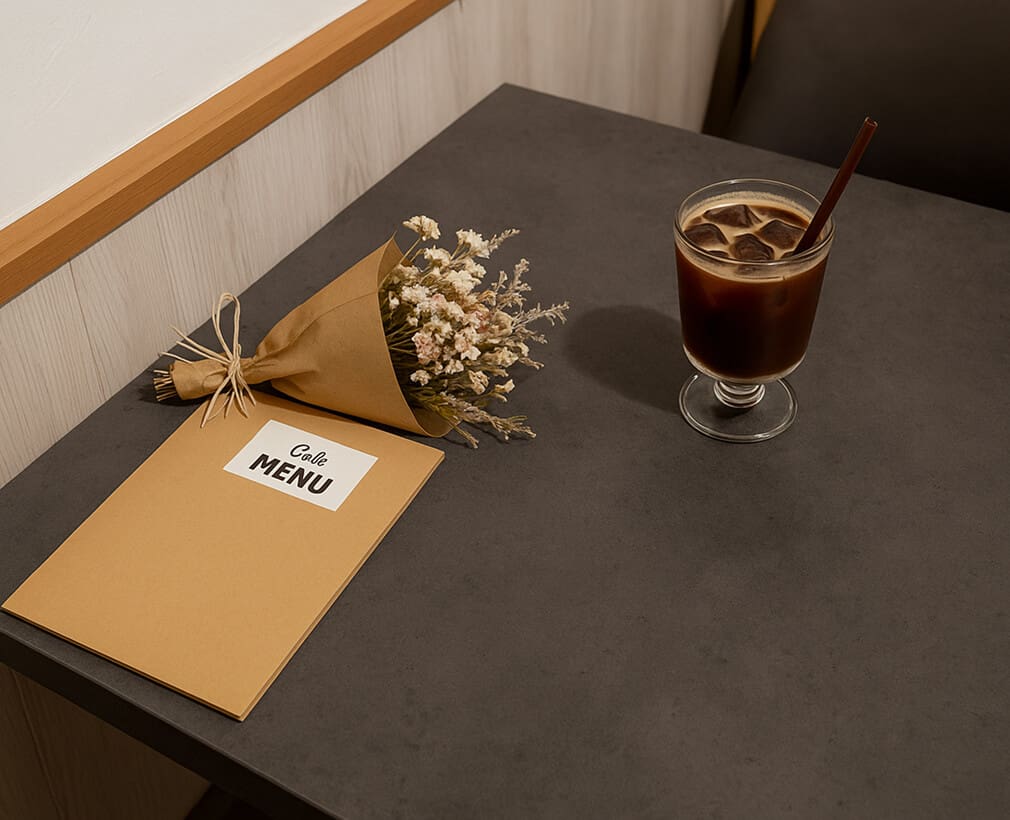
Example of a concrete countertop. Source: @storybyphil (Unsplash)
Before diving into the how-to guide, it’s important to ask: is it really worth it? We’ve put together an honest breakdown of the strengths and weaknesses of concrete countertops.
Advantages of Concrete Kitchen Countertops
Uniqueness and Style
Every concrete countertop is one of a kind. With the use of additives, pigments, custom molds, and varied pouring techniques, you can create a truly original surface — with zero sense of repetition.
High Durability
When crafted correctly, a cement countertop can withstand high temperatures, heavy use, and everyday impacts — offering strength comparable to that of natural stone.
Affordability and cost savings If you’re willing to put in some work, DIY concrete countertops can be significantly more budget-friendly than granite or quartz, especially when made entirely by hand.
Design Flexibility
Cement countertops pair beautifully with wood, metal, and brick, making them a great fit for modern kitchens, loft-style spaces, industrial designs, and even minimalist interiors.
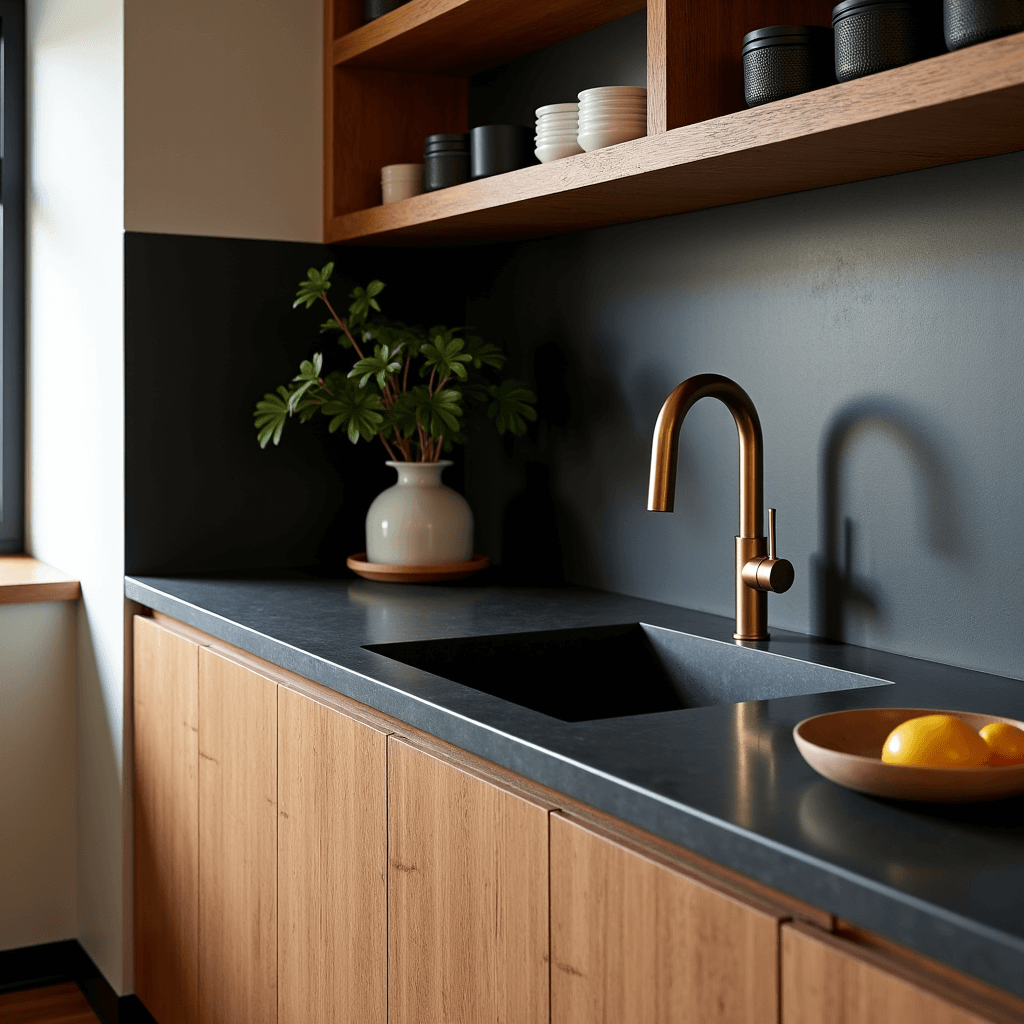
“We did a concrete island countertop in a light color with copper inserts. It has become the centerpiece of our kitchen. None of our friends have one just like it!” — u/rawstoneproject (Reddit)
Disadvantages and common pitfalls
Technically complicated process This isn’t a project you can rush through in an evening. If the process isn’t followed properly, concrete can crack, delaminate, or lose its visual appeal.
Weight
Concrete is heavy. Concrete counters and concrete kitchen countertops often require extra reinforcement for cabinets and base structures.
Maintenance Required
Without regular sealing, concrete is prone to absorbing moisture, oils, and stains. While polished concrete countertops look impressive, they do need ongoing maintenance.
Risk of Cracks. Even when done correctly, small hairline cracks may still develop over time. Some see this as adding character, while others may view it as a flaw. Installing a concrete countertop is a personal decision. However, if you’re uncertain or exploring other options, we recommend reading our article “Kitchen Countertop Options: A Comprehensive Guide” — it offers a thorough look at alternative materials. the other version.
Inspiration and Design Ideas for Concrete Kitchen Countertops
The phrase “concrete countertop” might bring to mind something rough and plain gray. But in reality, modern concrete kitchen countertops are full of style, color, and creative form. We’ve gathered some of the most inspiring ideas to show that concrete isn’t boring — it’s about freedom in design and true creative expression.
Popular styles and color options
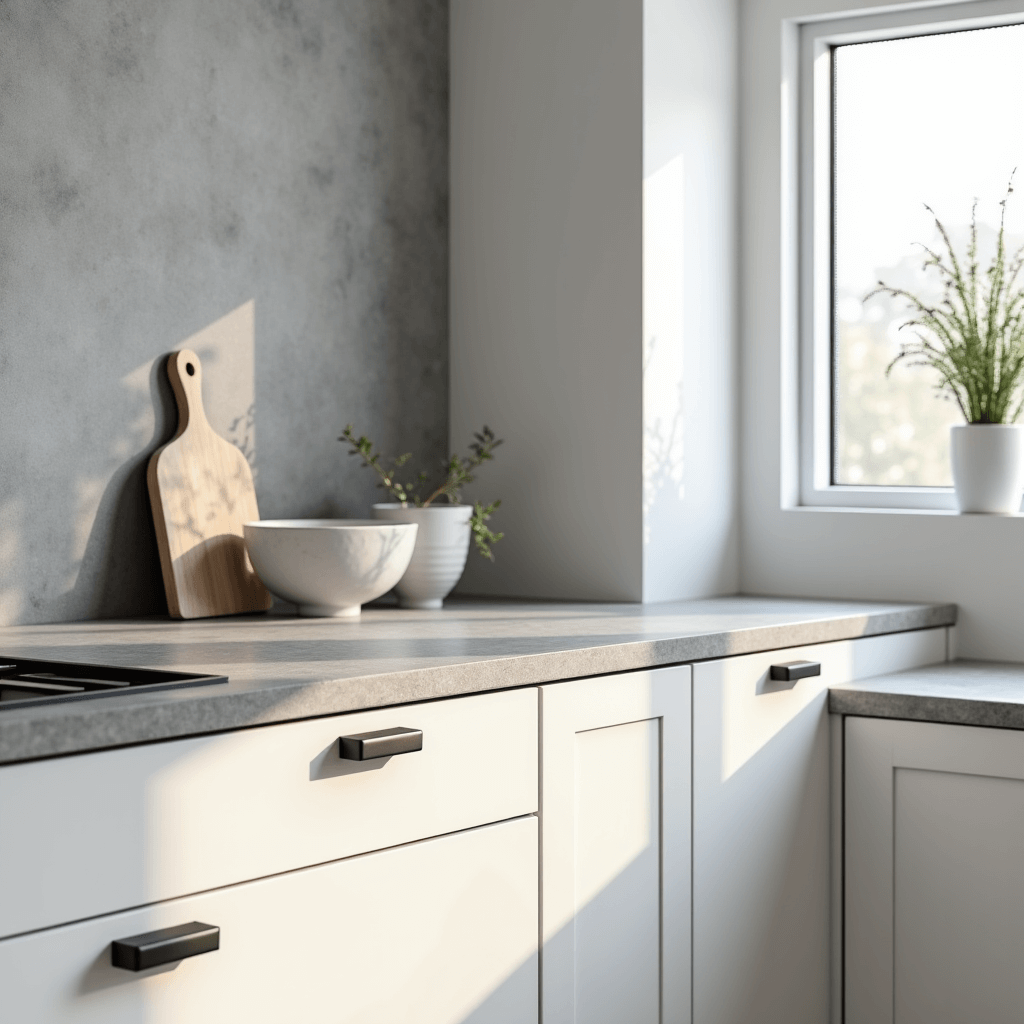
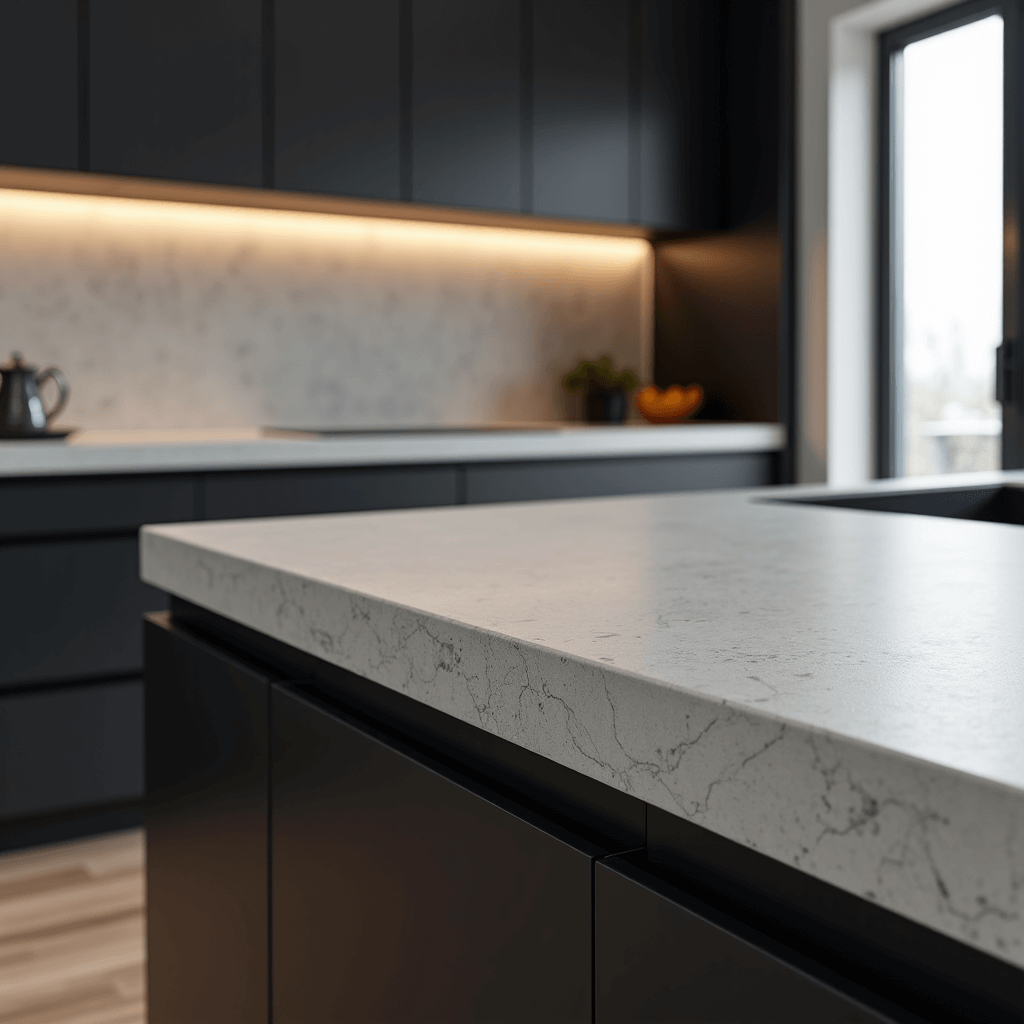
Gray Concrete Countertops
A timeless classic. Gray concrete works well in nearly any interior style — from Scandinavian minimalism to high-tech modern spaces. It looks especially striking when paired with matte cabinetry and black hardware.
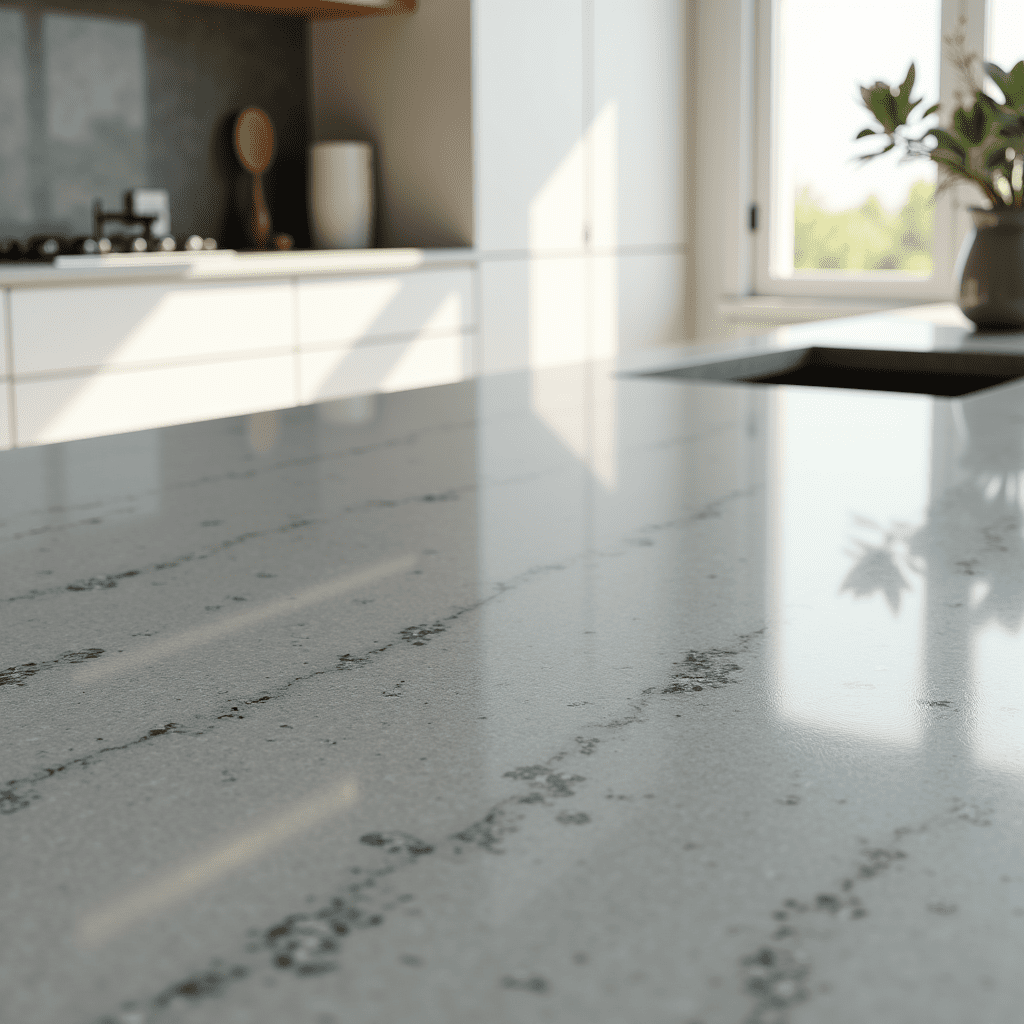
Polished Concrete Countertops
Sleek shine, light reflection, and minimalist elegance. This option closely resembles natural stone — especially when marble or glass chips are added to the mix.
Colored Concrete
By adding pigments, you can achieve shades ranging from warm terracotta to deep black. This opens up endless possibilities for customizing your kitchen’s look.
Concrete looking Countertops that have a lighter weight
If you’re not ready to commit to heavy slabs, there are alternative blends and finishes that replicate the look of concrete while being lighter and less demanding in terms of care.
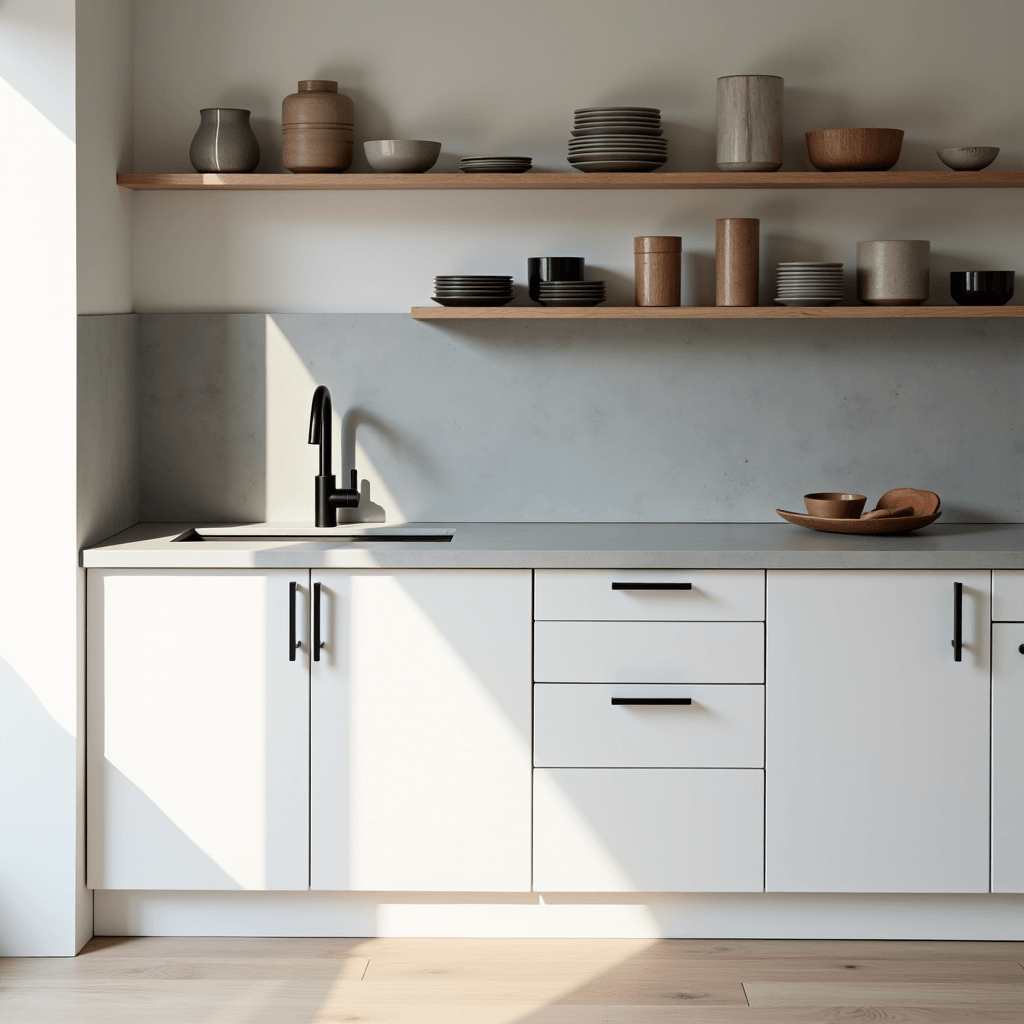
Real-Life decisions: Kitchens Featuring Concrete Countertops • Minimalism with Personality
A sleek gray countertop set against crisp white cabinetry, open shelving, and bold black accents — a timeless combination that never fails.
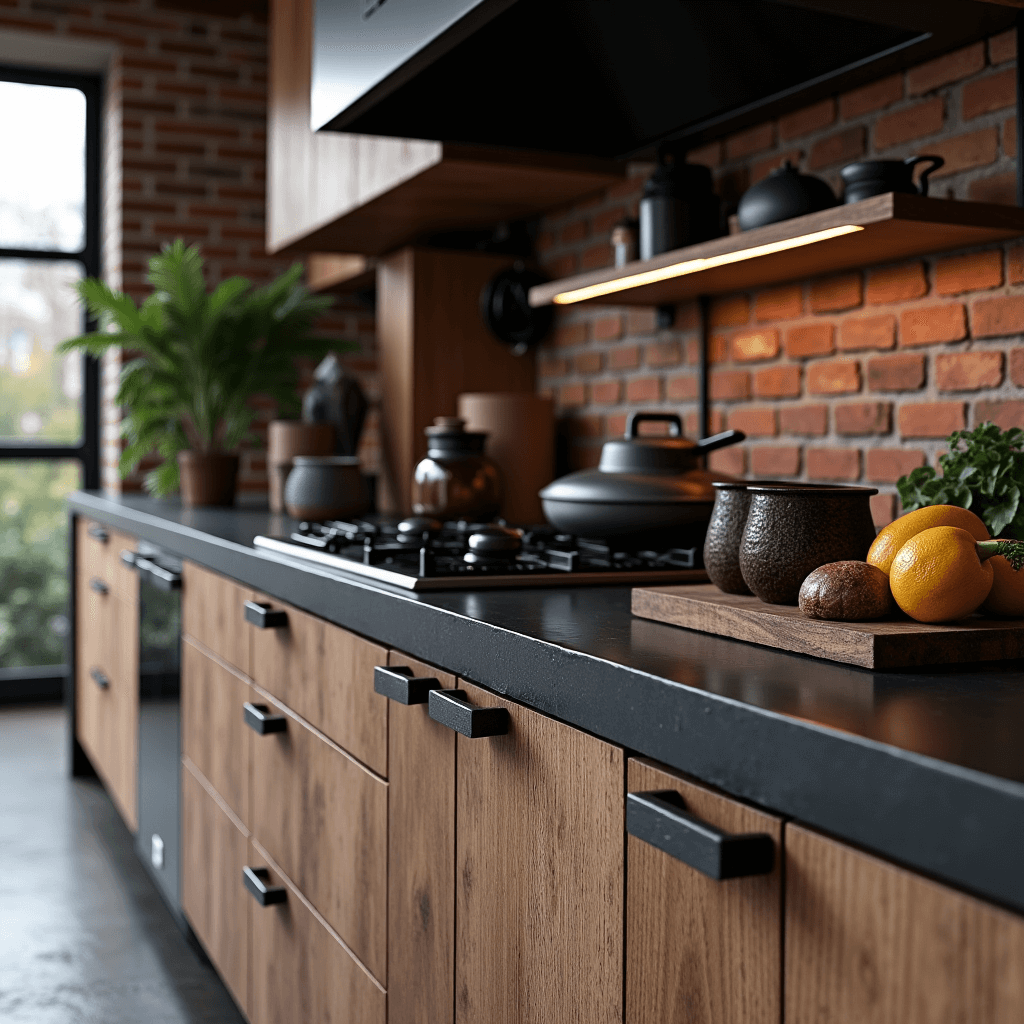
Industrial Chic
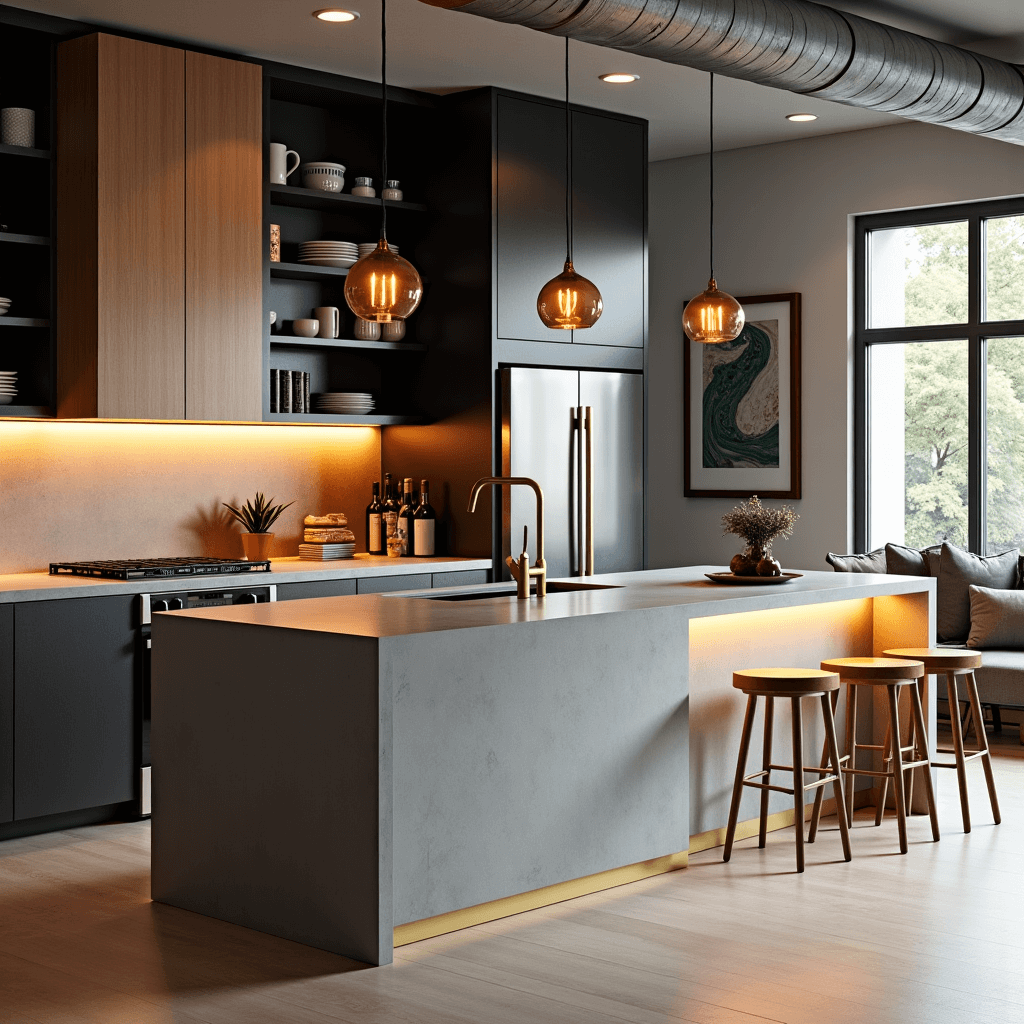
Dark concrete paired with weathered wood, metal hardware, and an exposed range hood — this kind of kitchen looks like it stepped right out of an architectural magazine.
Modern Eclectic
Concrete kitchen counters with brass inlays or integrated lighting are a rising trend among young designers in New York and Portland.
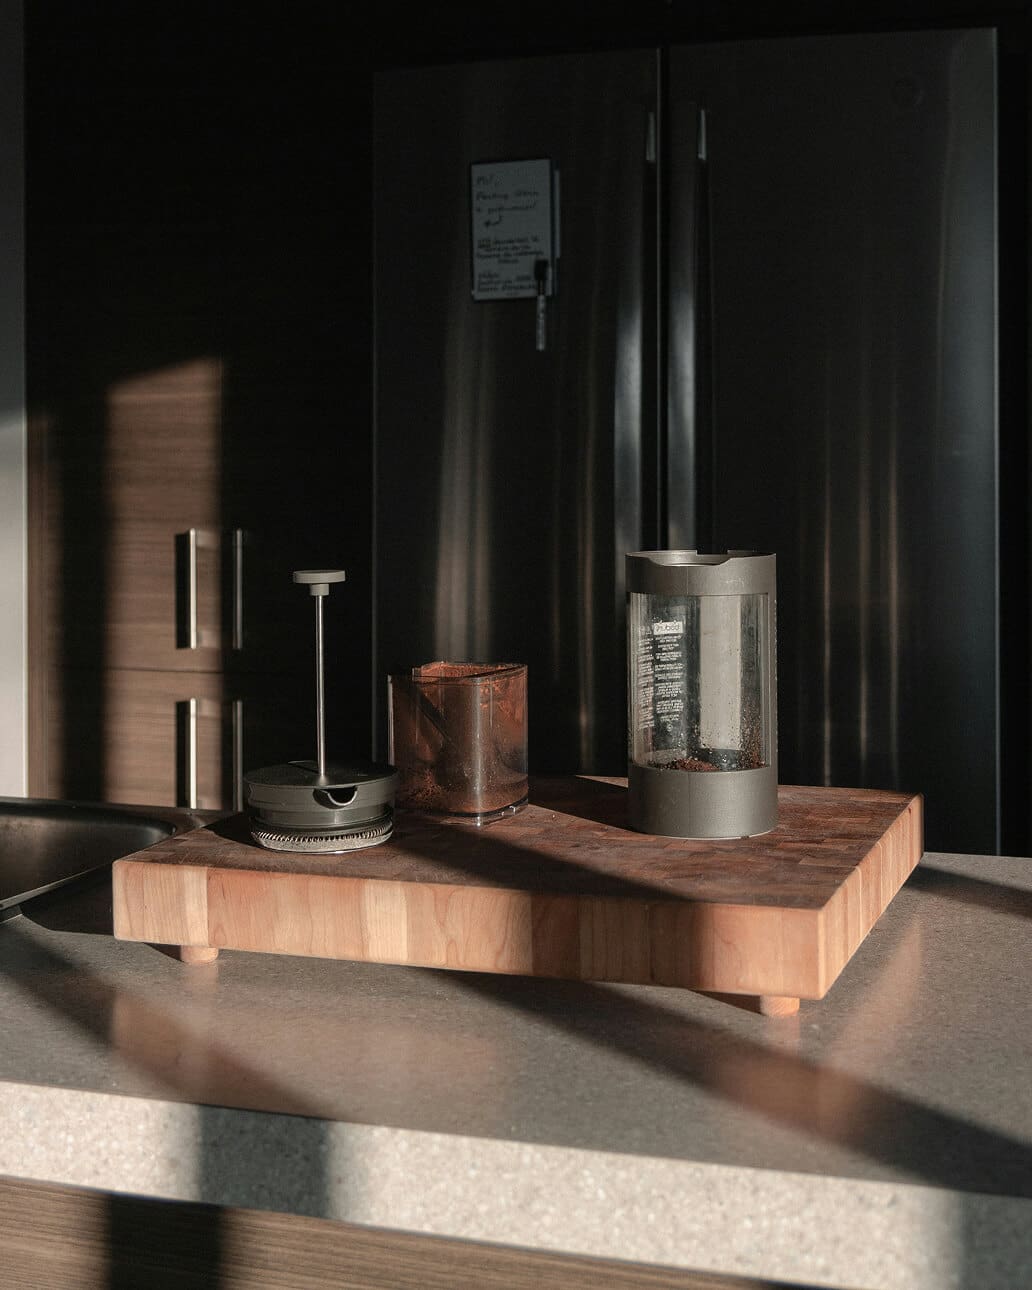
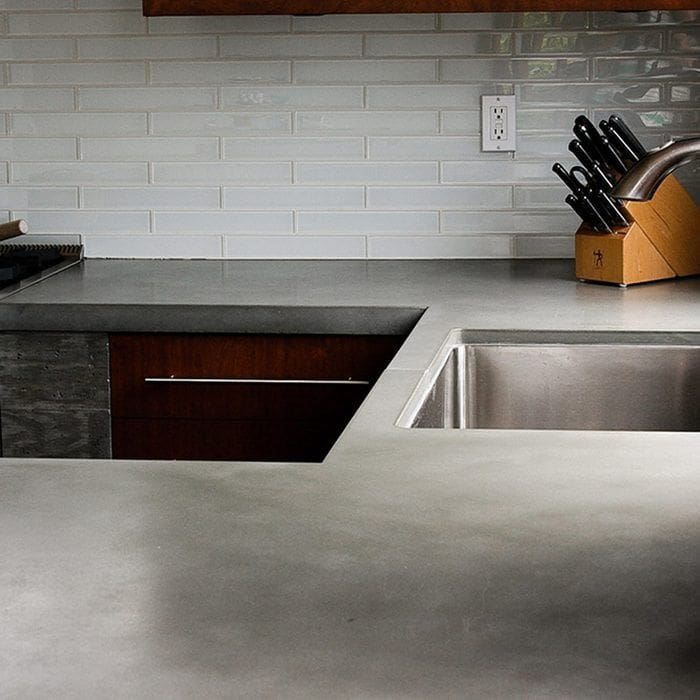
Example of a concrete countertop. Source: @family_handyman (Pinterest)
If you’ve read this far, you’re already close to starting your project. Now it’s important to understand exactly what you’ll need. We’ve reviewed feedback from pros and homeowners, checked popular products on Amazon and Home Depot — and put together a list of materials and tools that truly get the job done.
Materials and Tools
Core Components:
Cement
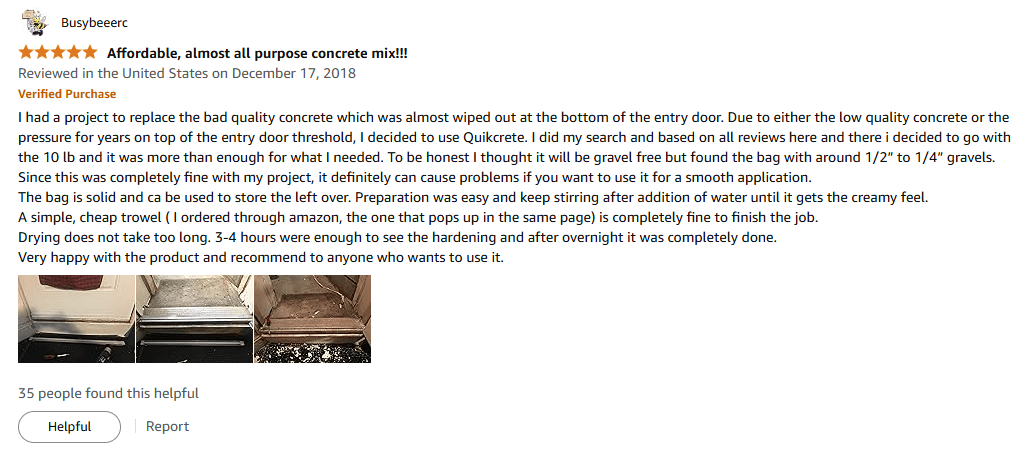
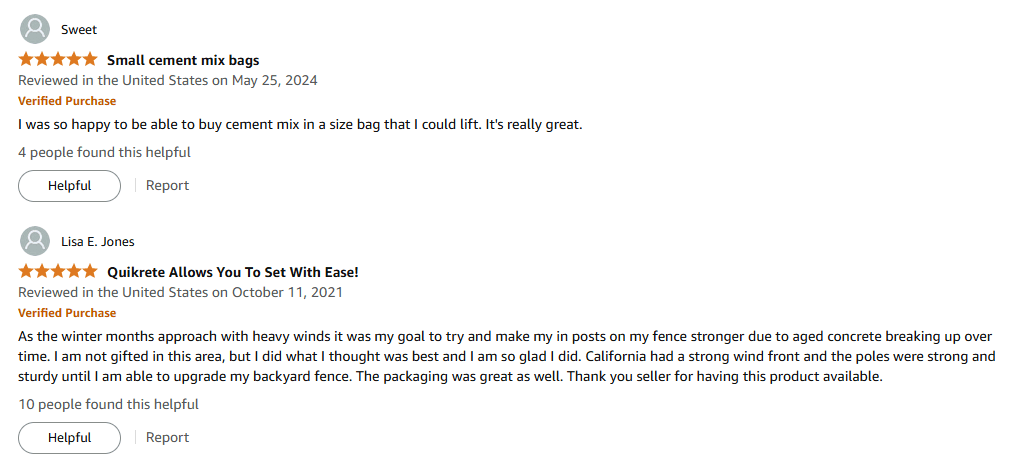
For example, QUIKRETE 110110 Concrete Mix 10LB is a popular choice for those who want a light-colored countertop with minimal grain.
Estimated Cost: $17.99 for 10 Liters*
Source: amazon.com
Sand and Aggregate
Construction sand (e.g., SAKRETE OF NORTH AMERICA 110310 10 lb Sand Mix) and fine gravel or perlite.
Estimated Cost: $4.99 for 10 pounds*
Source: amazon.com
Reinforcement For example: Self-Adhesive EIFS Stucco Mesh Fiberglass (4.5 in. x 150 ft - 4.5 oz.)
Pigments To add color, many use GlobMarble Concrete Pigment Color Powder
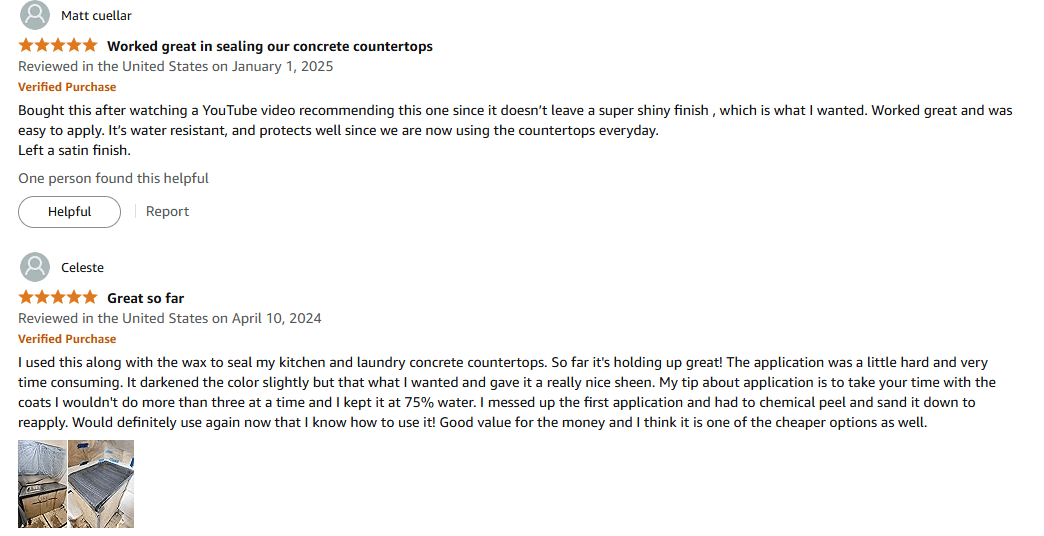
Sealer One of the most popular options is Cheng Concrete Countertop Sealer — created by Fu-Tung Cheng, a pioneer of the DIY concrete movement.
For example: CHENG Sealer 500 ml
Source : amazon.com
Wax
For example: StoneTech BulletProof Sealer
Source : amazon.com
Tools:
Concrete mixer or drill with mixing attachment
For example: DeWalt DCD130B — ideal for small to medium batches.
Price: $199.99*
Formwork Most DIYers build their forms using laminated MDF.
If you prefer a ready-made solution, consider the Z Counterform Edge Form Kit – Ogee. Price: $149.00*
Concrete Vibrator
The F2C Concrete Vibrator 110V is an affordable and compact option.
Polishing Tool
For a smooth finish, it’s best to use a wet polisher like the Stadea SWP104K Wet Polisher Kit, which comes with water-cooling functionality.
Don’t forget about safety!
Always wear gloves, safety goggles, and a mask — especially when working with polishing tools and pigments.
Step-by-Step Guide: How to Make a Concrete Countertop
At this stage, it’s important not to rush. Every phase affects the final result — appearance, strength, and durability. We’ve broken the entire process into 5 clear steps, so you can move forward confidently — without stress or unnecessary mistakes.
Project Planning
Start by taking precise measurements of your future countertop. Consider the depth, length, sink or cooktop cutouts, overhangs, and the layout if there’s an island.
What to do:
Create a detailed sketch with all measurements.
Decide on the countertop thickness (standard is 2 inches).
Plan the edge profile — straight, rounded, or decorative.
Prepare the base — it should be strong, level, and able to support the weight of concrete.
We recommend checking in advance whether your base cabinets can handle the countertop's weight. On average, one linear meter (about 3.3 feet) of concrete countertop weighs around 18–22 lbs per linear foot (8–10 kg).
Making and installing the Mold
The mold can be made from laminated MDF or you can use a ready-made one. The key is to ensure absolute airtightness and smooth walls. The inner surface should be treated with wax or vegetable oil to make removing the formwork easier.
Steps to follow:
Assemble the mold according to the measurements.
Use silicone along the seams to ensure airtightness and smooth curves.
Check the horizontal alignment using a spirit level.
Important: The mold must be placed on a perfectly flat surface (ideally on a plywood sheet) to ensure even distribution of the concrete.
Mixing and Pouring the Concrete
For a concrete countertop, you'll need a blend of cement, sand, water, fiber reinforcement, and pigment (if desired). The standard mix ratio is: 1 part cement, 2 parts sand, and 3 parts aggregate.
Approximate water volume: around 0.5 gallons per 80 lbs of dry mix (aim for a consistency similar to thick sour cream).
Step-by-step process:
Thoroughly mix the dry components until the blend is uniform.
Gradually add water while mixing until the mixture reaches a smooth, thick consistency — similar to sour cream.
Pour the concrete into the mold in layers, using a trowel to distribute it evenly.
Use a concrete vibrator (or a hammer drill along the sides of the mold) to eliminate air bubbles and ensure full compaction.
If reinforcing, lay the fiberglass mesh or rebar after the first layer and then pour the second layer over it.
Avoid overly runny mixes — excess water can weaken the final structure. It’s better to take more time spreading a firmer mix than to risk microcracks forming later.
Drying and Removing the Formwork
Allow the concrete to dry in the mold. The drying time depends on the temperature and humidity, but on average, it takes between 3 to 5 days. It’s better to wait longer than to remove the form too early and damage the piece.
Important:
Cover the mold with plastic for the first 24 hours to allow moisture to escape evenly.
Do not leave the mold in direct sunlight or freezing temperatures — concrete is sensitive to rapid temperature changes.
Carefully remove the mold, avoiding using tools to pry the concrete.
Once demolded, let the countertop rest for another 24 hours before starting the polishing process.
Sanding and Polishing
This is the stage where your concrete slab transforms into a kitchen countertop. The concrete is sanded with progressively finer grits: starting from coarse (80) to super-fine (1500 and above). If you want a glossy surface, polishing compounds and special attachments are used.
How to do it:
Start with wet sanding. This minimizes dust and makes the process safer.
Sand the entire surface evenly, avoiding staying too long in one spot.
For edges and corners, do it by hand using soft attachments or sandpaper.
After sanding, sealing is mandatory.
For sealing, you can use acrylic, polyurethane, or wax-based products. It's important to ensure they are food-safe and suitable for contact with food.
Care for Concrete Countertops: What You Need to Know
Even the most durable and beautiful concrete countertop requires attention. It’s not a material that you can install and forget about — as much as you might want to. Caring for concrete is simple but must be done regularly. It directly impacts the appearance, lifespan, and hygiene of the surface.
We’ve gathered the main recommendations to help keep your concrete kitchen countertops in perfect condition for years to come.
Protection from Stains, Moisture, and Grease
Concrete is a porous material. Without protection, it can absorb moisture, oils, coffee, lemon juice, and other staining liquids. That’s why proper sealing is the most important step in maintenance.
What to use to protect concrete:
Acrylic or polyurethane sealers – form a protective film over the surface.
Penetrating water repellents – soak into the pores of the concrete to block moisture.
Finishing wax – adds another layer of protection and a soft sheen, especially effective on polished concrete countertops.
How Often to Reapply the Protective Layer?
Initial sealing — right after polishing and curing.
Resealing — every 6 to 12 months, depending on how frequently the countertop is used.
High-use areas like around the sink and stove may require more frequent resealing.
To check if the concrete needs re-sealing , drop a small amount of water on the surface. If the drop is absorbed or darkens, it’s time to reseal.
Daily Care Recommendations
Use soft, non-abrasive cleaning products.
Avoid acidic cleaners (such as vinegar or pure lemon juice).
Don’t leave spilled liquids for long — especially oil, wine, or juice.
Wipe the surface with a damp cloth immediately after cooking.
What to Do if Stains or Cracks Appear?
Stains: You can carefully sand the stain with fine sandpaper and reapply the protective layer. In severe cases, use a mild bleach diluted with water and thoroughly rinse the surface.
Microcracks: They are not always critical and sometimes even add to the aesthetic. If the crack is deep, it can be filled with a repair mixture (cement-based with the appropriate pigment), sanded down, and sealed.
Frequently Asked Questions (FAQ)
We often receive questions from readers about concrete countertops — especially when it comes to DIY projects. Below are answers to the most common ones:
How to make a concrete countertop?
To make DIY concrete countertop yourself, you'll need to:
Prepare precise measurements and build a sturdy mold
Mix the concrete and pour it into the mold
Remove air bubbles using vibration
Allow the concrete to fully cure (at least 3 days)
Hone the surface, then apply a sealer
Each of these steps is explained in detail in the step-by-step guide above.
What Are the DIY Concrete Countertop Molds?
The most popular options include:
Rectangular — ideal for traditional and corner kitchens.
With an integrated sink — look impressive but require some experience.
Island — need a reinforced base due to their weight.
Custom shapes with decorative edges — add a unique touch to the countertop.
You can either make the mold yourself or use pre-made solutions available on the market.
How long do concrete kitchen countertops last?
With proper installation and regular sealing, concrete kitchen countertops can last 15 to 25 years or more. Longevity depends on:
At the beginning, we asked a simple question: Can you really make a concrete kitchen countertop yourself — and is it worth it? After walking through the pros and cons, step-by-step instructions, and expert tips, we have an honest answer.
Yes, it’s absolutely possible. And yes — it takes time, patience, and a willingness to learn. But if you’re looking to create a unique, durable, and stylish countertop — and you’re not afraid to get your hands dirty — concrete can give you something no store-bought material ever will: a truly one-of-a-kind surface with character.
We’ve gathered everything for you: inspiring ideas, real-life examples, how-to instructions, care tips, common mistakes, and answers to frequently asked questions. If you’ve made it this far, you’re already on the right path. You now have something even more valuable than tools — a solid understanding of the process and the motivation to take the next step.
And as always, our team is here for you — testing, researching, sharing experience, and finding the best solutions across the U.S. to make your DIY journey easier.
Also read:
* The price is valid as of April, 2025, published for informational purposes and may differ on the day the article is read. Prices are based on average data from Home Depot, Houzz, HomeAdvisor, and other relevant sources in the U.S.
All images are sourced from Unsplash photo stock or publicly available contractor portfolios. If you believe any image is privately owned and used without proper credit, please contact us at contact@countertopcontractors.com.
Some authors may write under a pseudonym and choose not to disclose their identities for personal reasons. We respect their privacy and simply provide a platform for professional, educational use. We are not responsible for name coincidences with real individuals. All contributors are vetted for expertise, but we advocate for freedom of expression.
This is our pricing research on Carrara Moro and Calacatta Idillio countertops. Find out which companies took on our project and how much they quoted for it.
Max Kuchman
415
The Stone MagazineStone Countertop Prices and Installation Costs in the U.S.
This is our price research for Carrara Moro and Calacatta Idillio countertops in Renton, WA. Find out which companies took on our project and how much they paid for it.